HornAndRhode
StageTop Quarter/Half/Full Tile Terrain Tile - Digital Files Only - Non-Commercial
StageTop Quarter/Half/Full Tile Terrain Tile - Digital Files Only - Non-Commercial
Couldn't load pickup availability
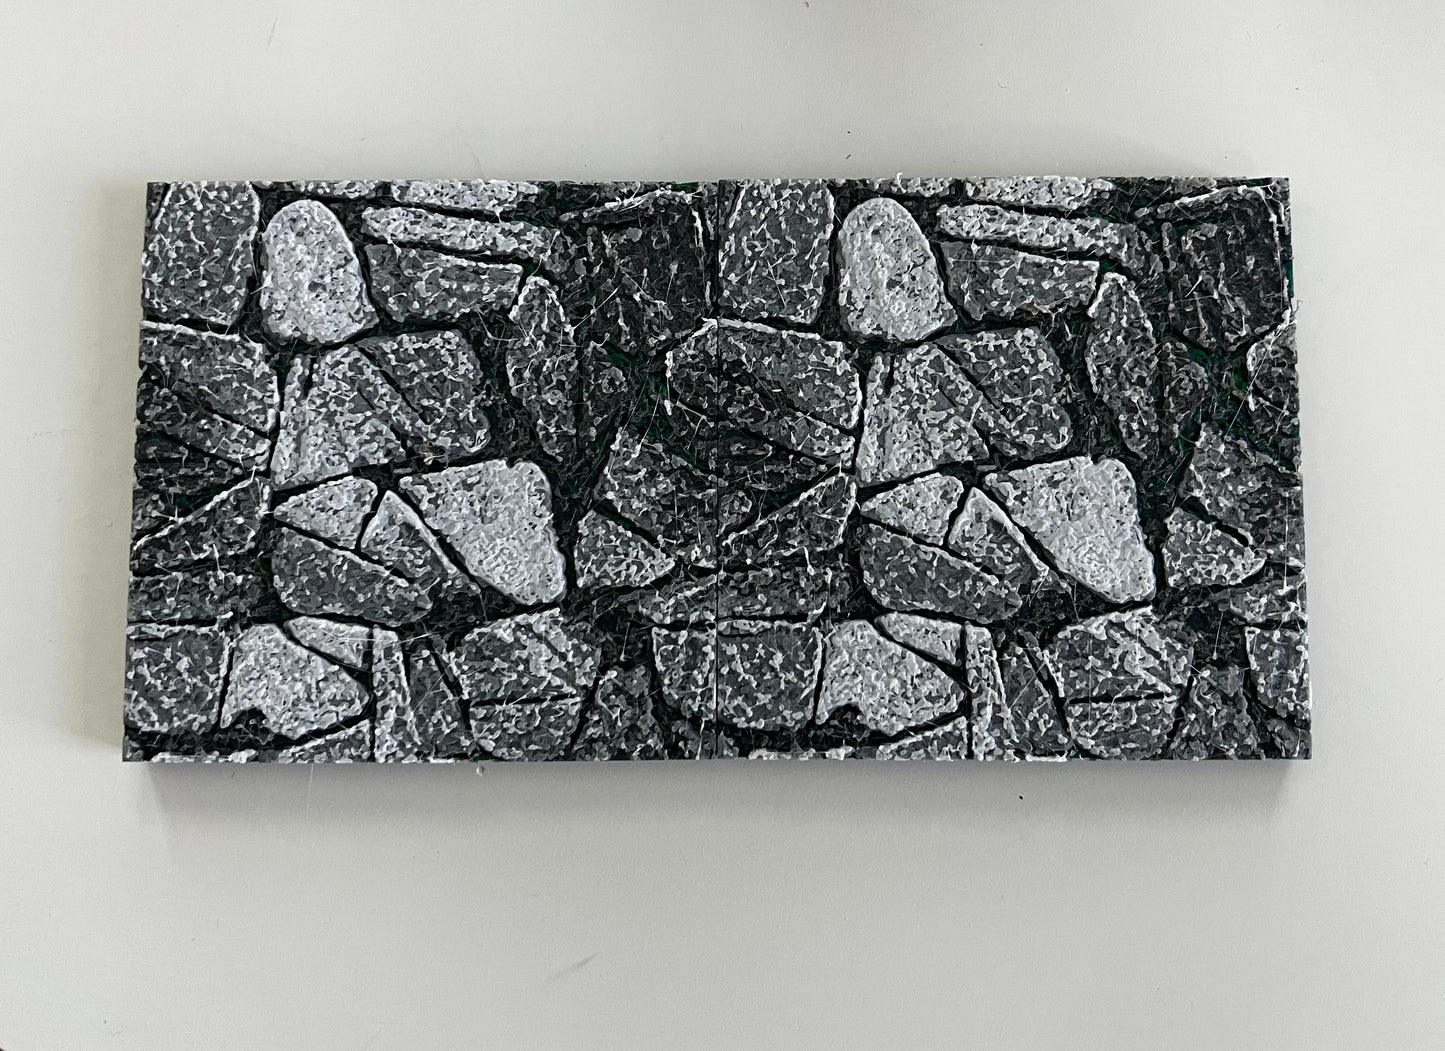
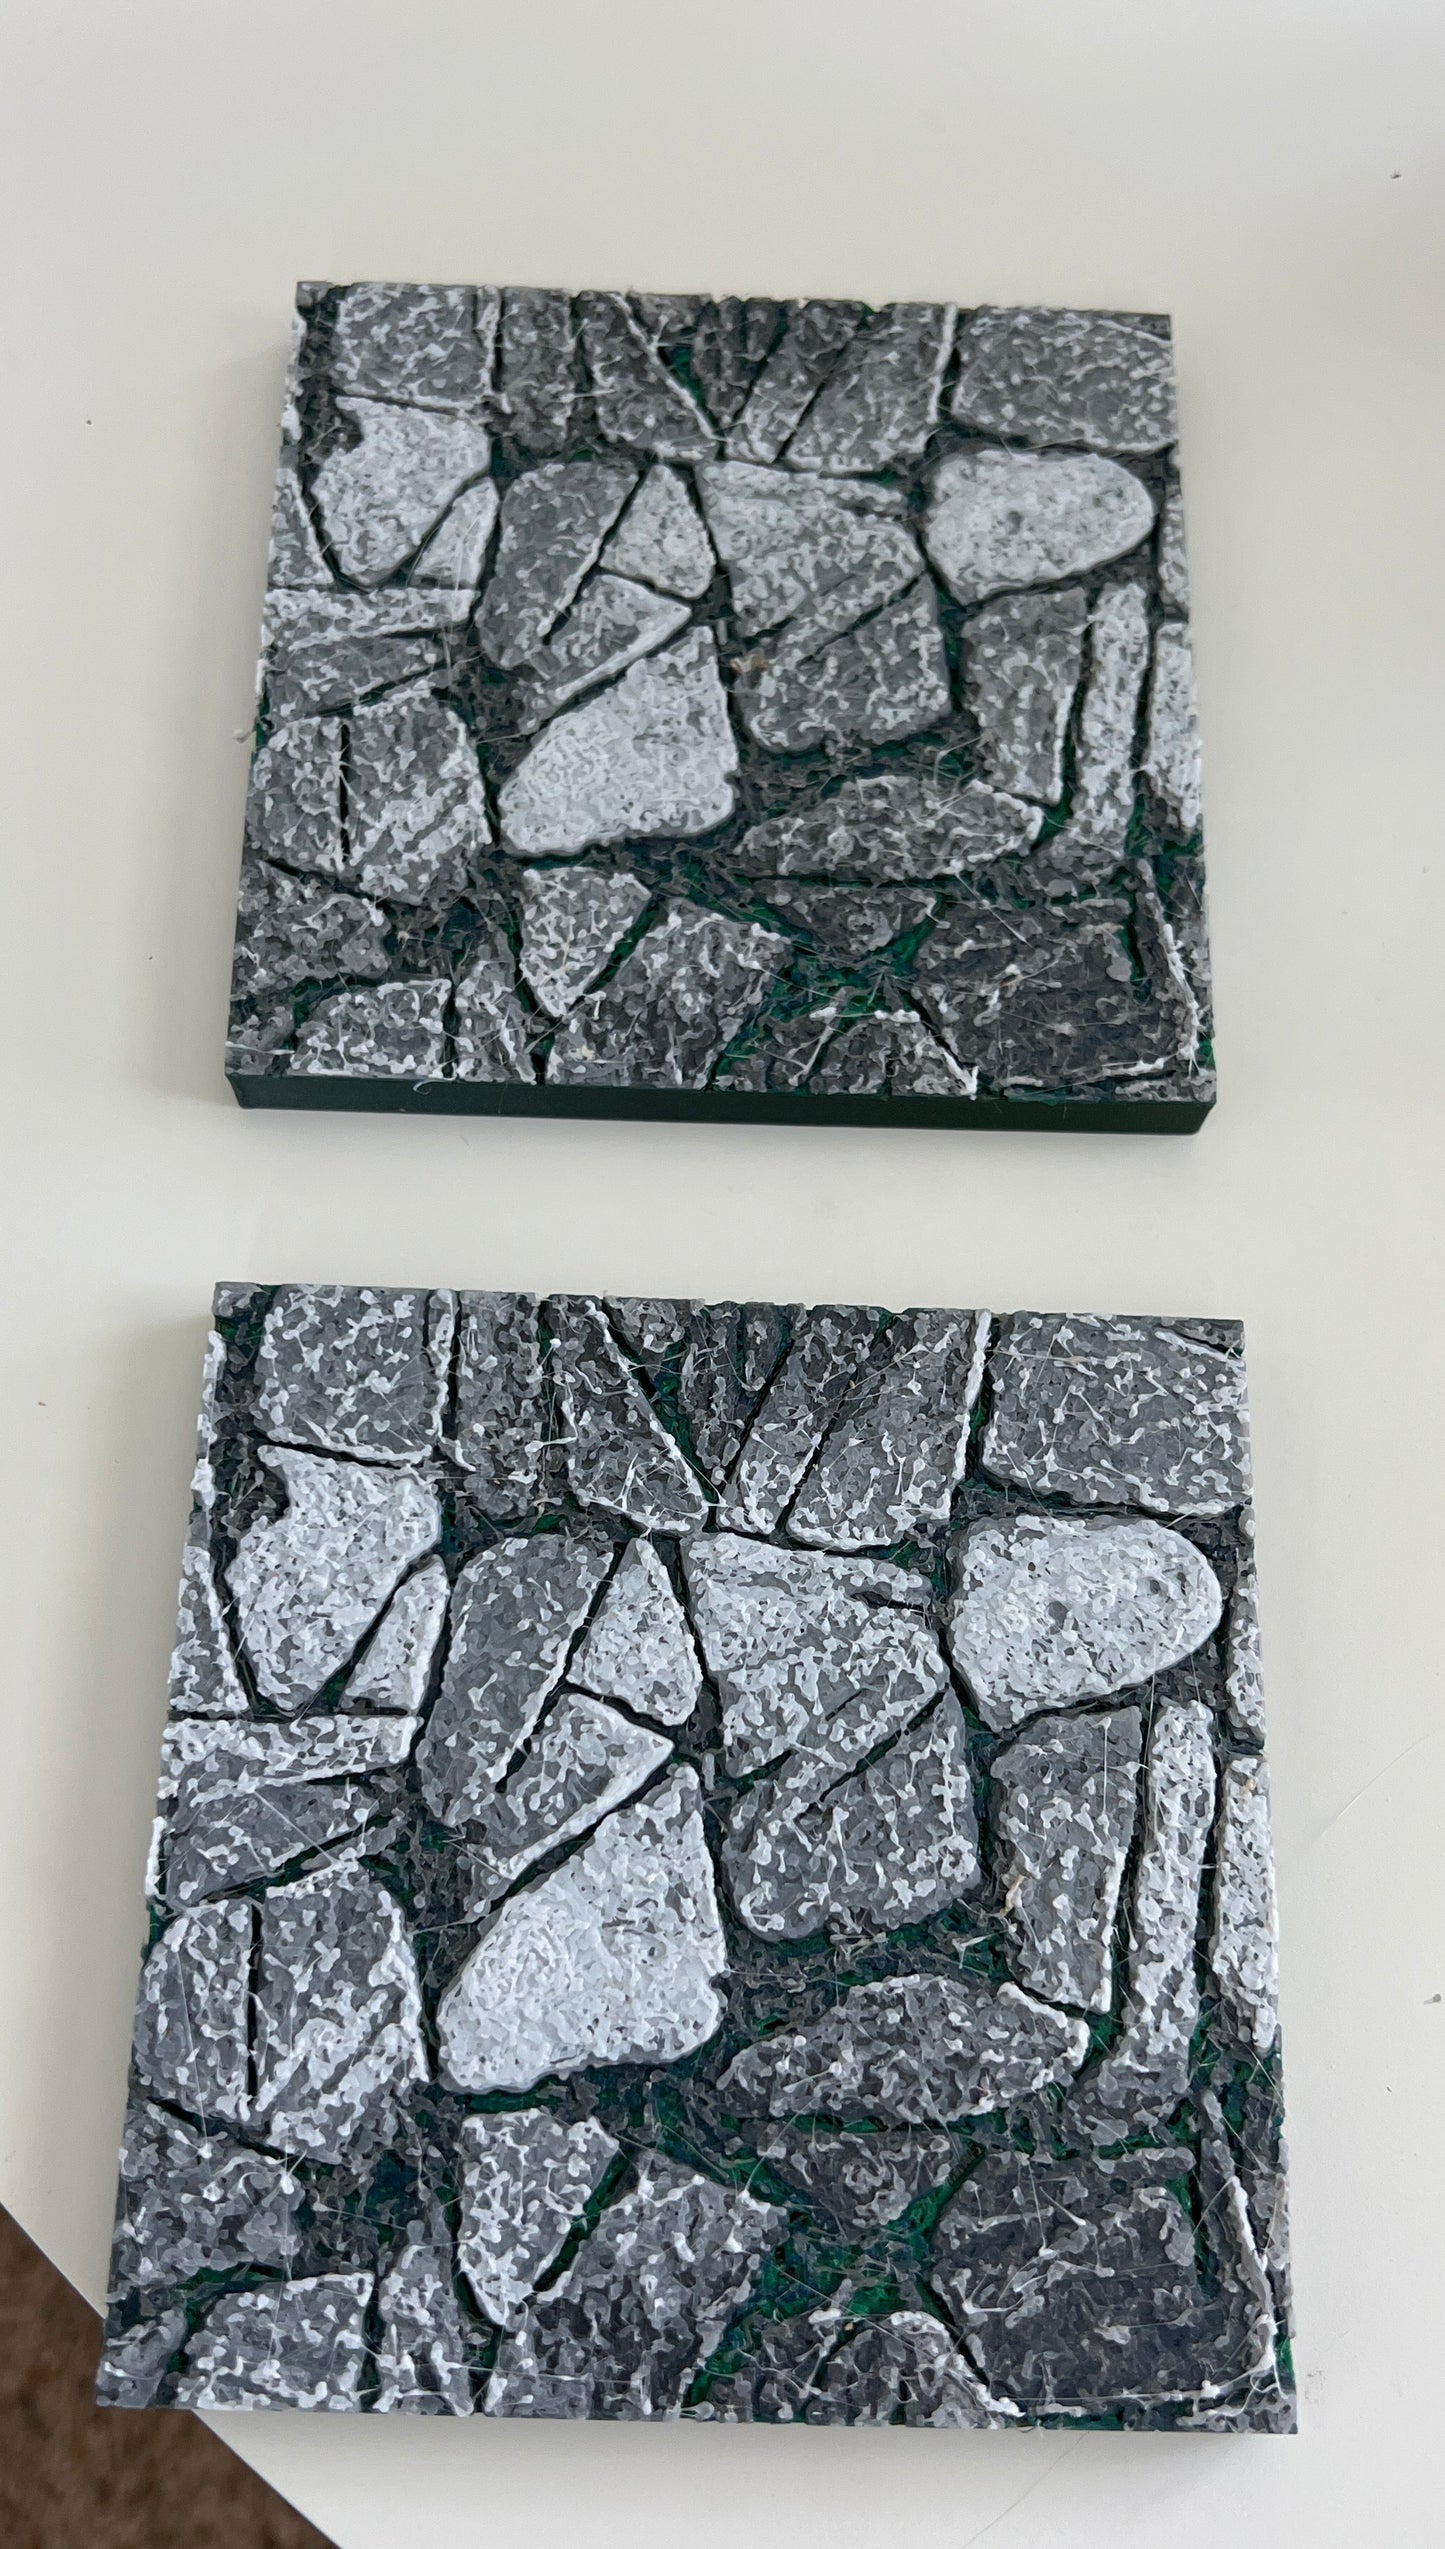
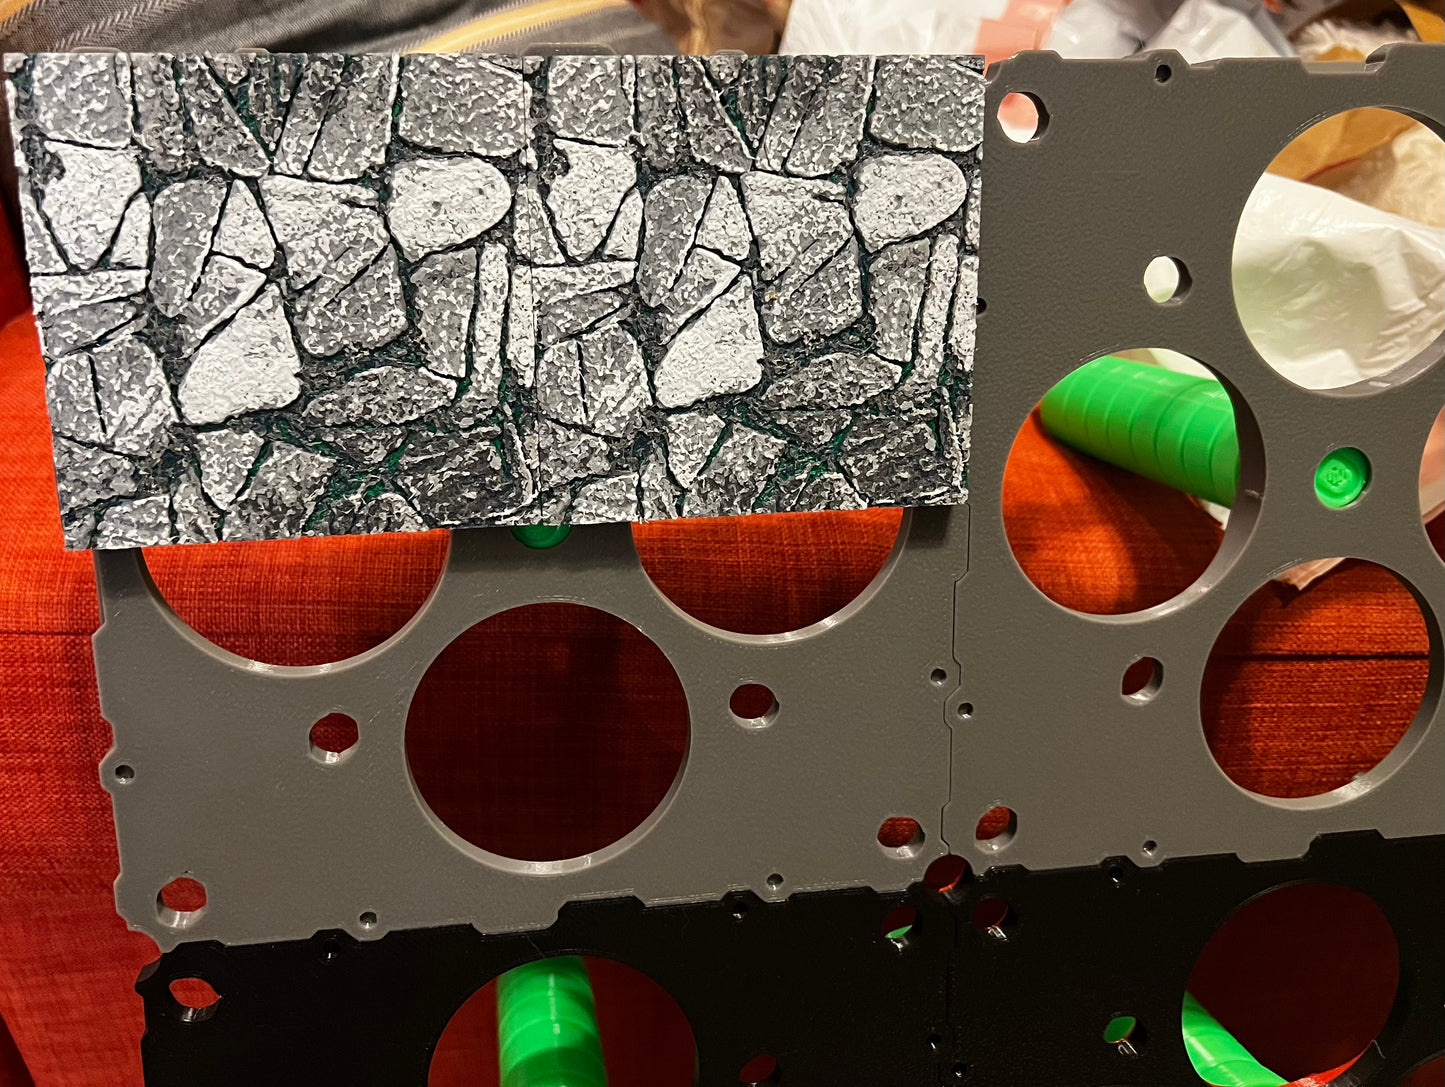
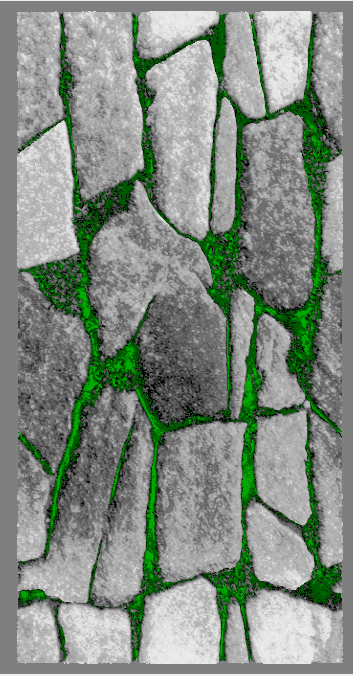
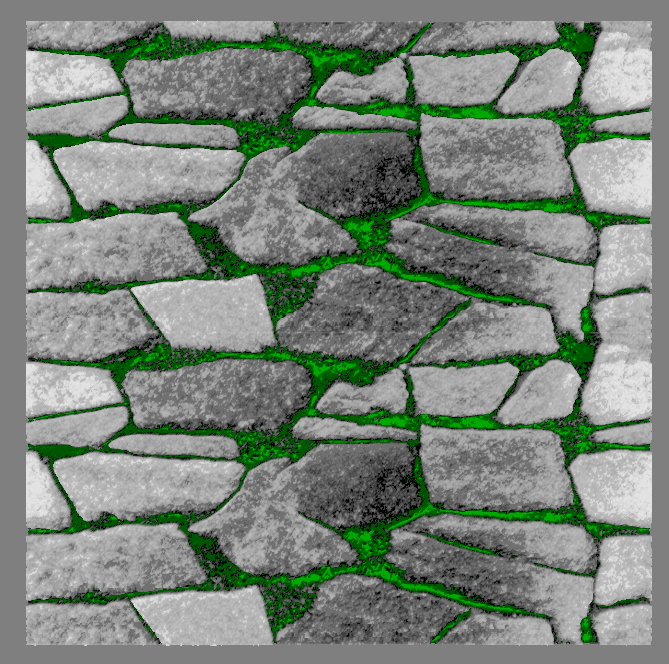
Discover a new world of possibilities with these StageTop Terrain Tiles! These tabletop gaming terrain tiles 3D printing model prints with color, providing endless possibilities for immersive gaming experiences. Create vivid fantasy landscapes with intricate details that come to life right on your tabletop! It's the perfect choice for your next adventure. Are you ready to explore?
You DO NOT need an MMU system. While the AMS or ERCF will make this easier to print, you can do this with just 4-5 manual filament swaps, no extra hardware required. Your firmware does need to support M600 or Swap Filament at Layer.
*DIGITAL FILES ONLY* *NON-COMMERCIAL PERSONAL USE ONLY* (commercial license available)
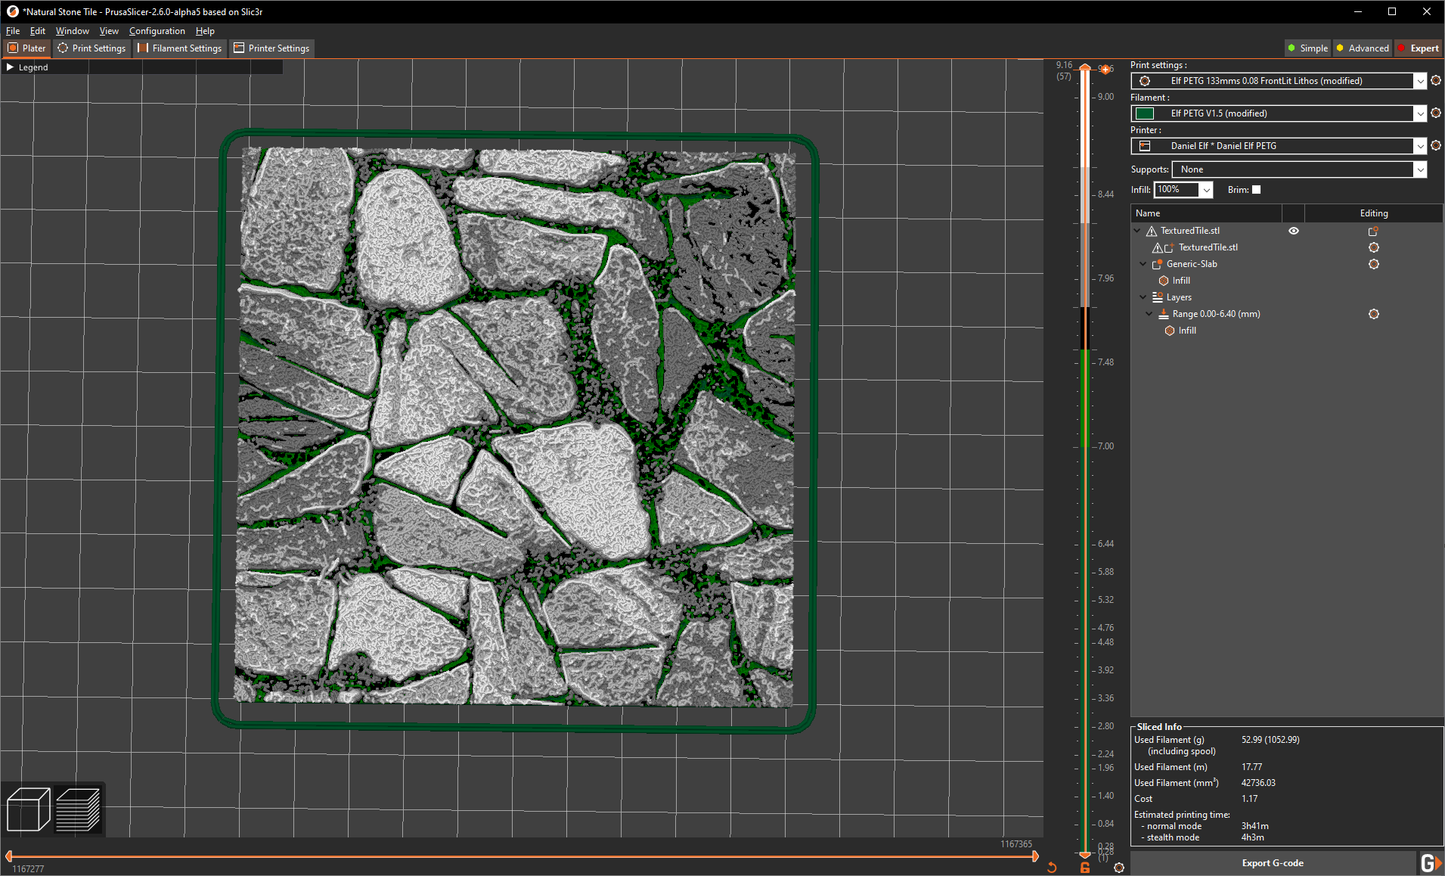
Includes a 3MF file with the layer information already in place including what layers to swap at and the nominal color to use as well as an STL.
The Full and Half tiles will tile together, but the Quarter tile will not tile exactly with them. The images are from my software tool for generating the tiles and they will vary somewhat based on your printer and filaments. Also the gray border will not print, these will be seamless tiles.
Be aware that the slice time on these measures minutes, not seconds. This is normal.
Bambu Labs 3MF file is set to just PAUSE at layer right now. If you have an AMS go ahead and change those to filament changes. If you have just 1 AMS, you will need to swap spools after the first 1-2 swaps (depending on if you print 1 color of green or 2). Just reload new spools into the AMS after each swap. You might want to add a pause before the last two layers to make sure you do not miss them.
If you cannot load the 3MF, print the STL with these settings:
Walls 1.2mm thick (3 walls with a 0.4mm or 2 walls with a 0.6)
Infill at about 15% - this is to support the transition from your base printing height to the 0.08mm layers. All the time in this print is in the 0.08mm section so don't hesitate to increase infill if you have issues at the transition.
From 0-6.4mm print at your base filament height - 0.2 or 0.28mm (example tile was printed at 0.28mm below the top). At the top of this region, add a modifier slab that is at least 3 layers thick that ends at 6.4mm. (For 0.28mm layers you will need to center it on 5.98mm of height) this modifier should set the infill to 100%. You need this base to build the 0.08mm layers on, otherwise they do not work properly.
Above this region, if your slicer supports it (all the Slic3r based ones like PrusaSlicer/SuperSlicer/BambuSlicer) add a Height Range modifier (right click on the model and choose it from the menu) that goes from 6.4-9.24 at 0.08mm steps. Add an infill modifier to this to set to 100% rectilinear infill.

Filament changes should be as close to
7mm, 7.56mm, 7.8mm, 8.28mm, and 8.6mm as you can get with your specific base height.
The original tile was printed with:
But PLA should be just fine as well and most Gray/Black/White filaments are more or less the same so choose your favorite. You will want a light gray along with the standard gray. And two colors of green for best effect, they do not have to be these two colors. If you wanted to drop a color though, one of the greens would be the best color to drop. You could skip the 7mm height swap.
Authorized StageTop Reseller #5697